Crafting a Techno Stab with Hive: A Step-by-Step Sound Design Guide
Techno stabs are essential for creating tension and rhythm in a track. They cut through the mix, add movement, and drive the energy forward. The u-he Hive synthesizer is particularly well-suited for this kind of sound design thanks to its powerful oscillators, versatile filters, and easy-to-use modulation capabilities. This guide walks you through each step of creating a rich, dynamic techno stab, from basic oscillator settings to advanced modulation and effects. By following along, you’ll learn how to design a sound that’s perfect for the club.
Step 1: Setting Up the Oscillators and MIDI Pattern
The oscillators form the foundation of your sound, defining its harmonic content and tone. By carefully choosing waveforms and configuring each oscillator, you can create a sound that has both power and clarity. Starting with a solid base ensures that every subsequent step in the sound design process builds towards a cohesive and impactful stab.
How to Do It:
Load Hive and Create a MIDI Pattern:
Begin by creating a simple MIDI pattern in your DAW. This pattern will trigger your synth sound rhythmically, setting the tempo and grooveOscillator Configuration:
Oscillator 1: Set to Sawtooth for a rich harmonic foundation.
Sub Oscillator 1: Use Sawtooth to reinforce the low end.
Oscillator 2: Select Pulse waveform to add brightness and character.
Sub Oscillator 2: Add another Sawtooth for enhanced depth.
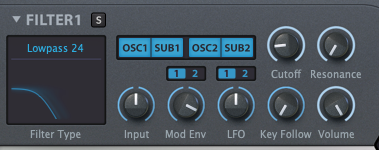
Tip: Make sure to enable Osc1, Osc2, Sub1, and Sub2 in the filter routing to ensure all oscillators contribute to the final sound.
Step 2: Building the Chord Structure
Building a chord structure is crucial for creating a harmonically interesting sound. Instead of a flat, one-dimensional tone, a chorded stab introduces complex intervals that can give your track a more musical and emotional feel. This adds depth and richness, making your techno stab sound less like a simple note and more like a musical element with presence.
How to Do It:
Set Oscillator Pitches:
Osc 1: Pitch at 0 for the root note.
Sub 1: Pitch at +3 for a minor third, adding a darker tone.
Osc 2: Pitch at +7 for a perfect fifth, giving a balanced and open sound.
Sub 2: Pitch at +10 to add harmonic tension.
These settings create a minor chord structure, a staple in techno music for its darker, more mysterious vibe.
Step 3: Adding Movement with LFO Modulation
Modulation adds movement and variation to your sound, preventing it from becoming static or repetitive. In techno, where hypnotic grooves are key, adding subtle modulations can make the difference between a flat sound and one that feels alive. By using LFOs to modulate aspects like pulse width or filter cutoff, you introduce subtle shifts that keep the listener engaged.
How to Do It:
Modulate Pulse Width with LFO:
LFO 2 Settings: Select a Triangle waveform, ideal for smooth, cyclical modulation.
Rate: Set to 2.70 to match the groove of your track.
LFO-Pulse Width Depth: Adjust to 38 to introduce a balanced amount of movement in the pulse waveform of Osc 2.
This setting subtly alters the width of the pulse waveform, adding a sense of organic variation that evolves over time.
Step 4: Unison and Detune for Width
Unison and detuning are techniques that add width and richness to a sound, making it fill more space in the stereo field. By detuning oscillators slightly against each other, you can create a lush, full-bodied sound that has a natural chorus effect. This is especially effective in techno for creating wide pads or leads that dominate the mix.
How to Do It:
Oscillator Unison:
Osc 1 Unison: Use 2 voices to add subtle stereo width.
Osc 2 Unison: Set to 4 voices for a broader, more immersive sound.
Detune Range: Adjust between 10 and 20 to avoid excessive pitch clash but still create a thick, layered texture.
Detuning creates a slightly out-of-phase effect between oscillators, adding depth and making the stab sound richer and more complex.
Step 5: Shaping the Sound with Filters and Envelopes
Filters help to sculpt the tonal balance of your sound, allowing you to remove unwanted frequencies and highlight the desired characteristics. Envelopes control how your sound evolves over time, influencing everything from its attack to its decay. Together, these elements define the character and punch of your techno stab, making it more dynamic and fitting it perfectly into your track.
How to Do It:
Filter 1 Settings:
Type: Low Pass 24 for a smooth roll-off.
Cutoff: Set to 52 to keep the brightness in check.
Resonance: Set to 28 to add a slight peak at the cutoff point.
Env Amount: 92 for dynamic control of the cutoff.
Modulation Envelope (Mod 1):
Attack: 0 for an immediate impact.
Decay: 51 for a controlled drop.
Sustain: 20 for a sustained body.
Release: 41 for a natural tail-off.
These settings create a snappy sound that fades smoothly, ideal for rhythmic stabs that need to hit hard without overstaying their welcome.
Step 6: Using a High-Pass Filter to Clean Up the Low End
Cutting unnecessary low frequencies from your stab ensures that it doesn’t muddy the mix or interfere with other bass elements. A high-pass filter allows you to clean up the sound, keeping it sharp and focused. This step is crucial for maintaining clarity in dense techno arrangements.
How to Do It:
Filter Routing: Send the output from Filter 1 into Filter 2 for further shaping.
Filter 2 Settings:
Type: High Pass to eliminate low-end rumble.
Cutoff: Set to 83 to retain the body while removing sub frequencies.
This keeps your techno stab tight and punchy, allowing the kick and bass to shine through without interference.
Step 7: Enhancing the Sound with Effects
Effects such as distortion, delay, and reverb can add depth and character, transforming a simple sound into something polished and atmospheric. Distortion adds warmth and grit, while delay and reverb create space, making the stab feel more three-dimensional.
How to Do It:
Distortion: Select Soft Clip, Amount 28, Mix 20 for warmth without harshness.
EQ: Use to cut additional low frequencies and shape the mids.
Delay: Sync to the track's tempo for rhythmic echoes.
Reverb: Adjust size and decay to create a sense of space without washing out the sound.
For techno, switching the synth engine to Dirty mode adds rawness, perfect for that gritty, industrial edge.
Bonus Tip: Adding Expressiveness with the Mod Wheel
Using the Mod Wheel as a real-time control allows you to add variation during live performances or automate expressive shifts in your arrangement. It’s a great way to add dynamic changes, like filter sweeps or subtle reverb adjustments, that keep your sound evolving.
How to Set Up Mod Wheel Modulation:
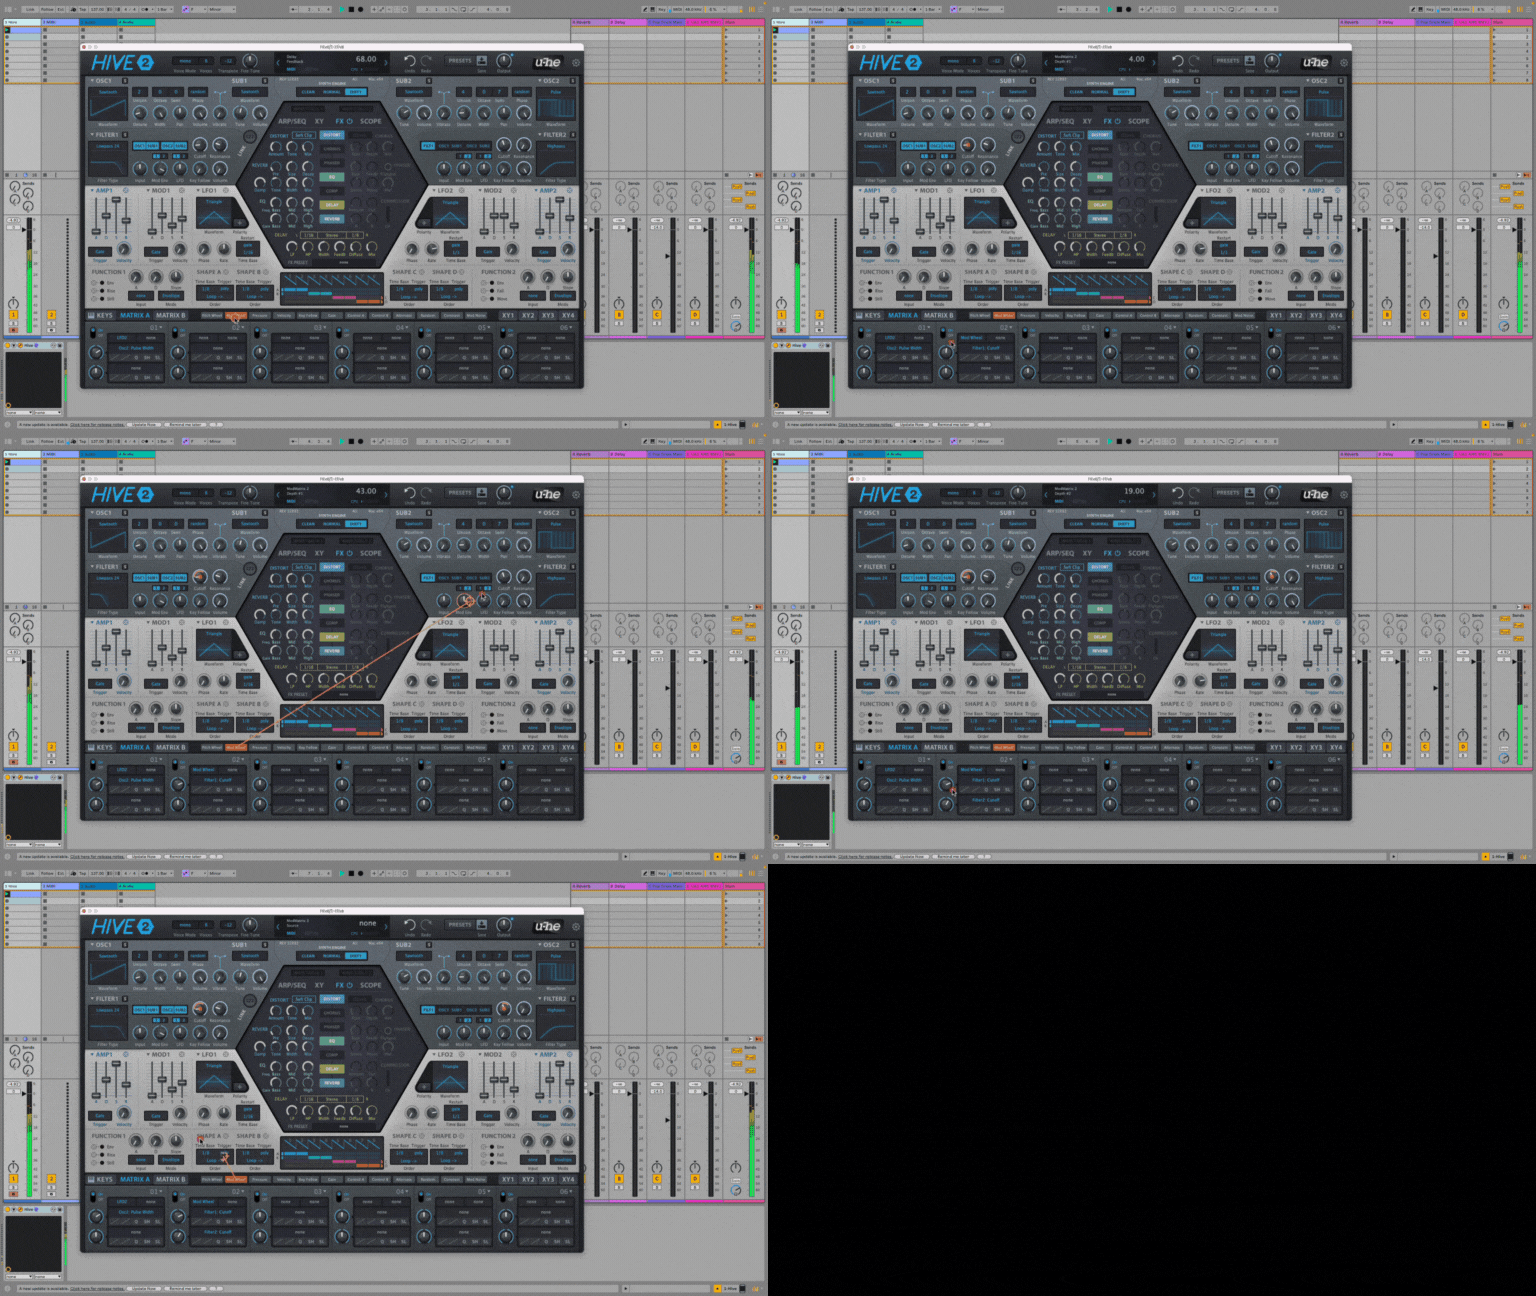
Assign the Mod Wheel to:
Control Filter 1 and Filter 2 cutoff for sweeping changes.
Adjust Decay and Release for dynamic changes in envelope behavior.
Modulate Delay Diffuse and Mix to vary space and echo effects.
Draw automation curves in your MIDI clip to create evolving transitions, perfect for breakdowns or builds.
Conclusion:
Designing a techno stab with Hive involves blending creativity with technical precision. By layering oscillators, using modulation to add movement, and carefully shaping the sound with filters and effects, you can create a powerful sound that stands out in the mix. Experiment with these techniques to discover your own unique sonic signature and take your techno productions to the next level


